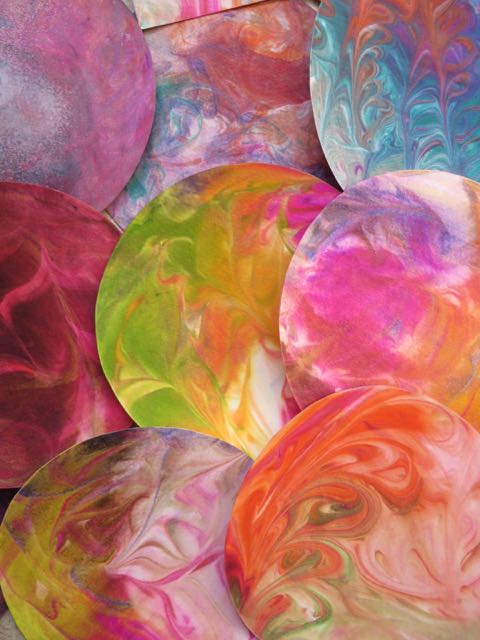
February 15th: Pablo Picasso said, Every child is an artist, the problem is staying an artist when you grow up. Well I’m trying to re-acquaint myself with the artist inside and today I was very successful. My mom and I spent the day making art with shaving foam. It’s a very messy and environmentally unfriendly project. You need a plastic table cloth, an apron, and gloves for protection and at least one roll of paper towels per person. The bigger the mess the more childlike and carefree you’ll feel.
The pie effect comes from the paper plate you fill with shaving foam. First fill up the plate and then smooth out the foam like you’re finishing off your favorite cream pie. Decorate your pie with colorful spray inks. I’m still a beginning artist and someone who likes cool stuff so I have a bad habit of buying art supplies that I don’t use right away, in this case Dylusions spray inks. So I was really excited to finally have a project for these brilliantly colored inks.
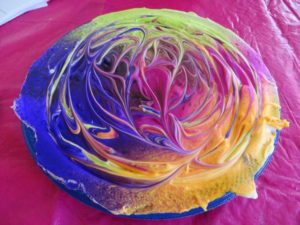 Color selection can be stressful, especially if you’re worried about selecting the wrong colors. To enjoy the intended fluidity of the project my mom and I occasionally made color selections with our eyes closed. The weird thing is, the colors we randomly selected with our eyes closed were often in the same palette as colors we would’ve intentionally selected with our eyes open.
Once the colors are applied, swirl a chopstick around to mix them up. The more you swirl and mix the more dramatic the marbling effect on 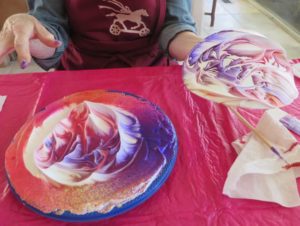 the finished product.
Cut circles and rectangles out of watercolor paper to make mandalas and bookmarks or use watercolor postcards to make mailbox magic. Set your paper on top of the pie tapping around the top to eliminate air bubbles. Now you have to decide to lift the paper up or drag it across because different removal methods produce different results.
The magic is in the big reveal; wipe off the foam with a paper towel 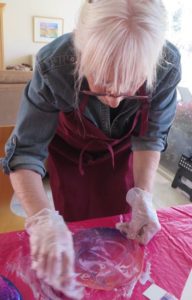 and see the surprise underneath; it looks nothing like the design in the foam caps.
From here you can do a number of things. You can swirl some more and apply another piece of paper, you can add more ink, you can apply a new layer of foam, you can start over, you can even take paper that you’ve already printed on and re-apply it. Experiment. No two applications are the same which makes it so much fun. After awhile you’ll forget the mess you’re making and the paper towels you’re wasting.
We both started the day a bit grouchy, greeting each other with stories of our respective aches and pains. But once we started the grouchiness was replaced by the joy of letting our child artist out to play.
There’s so much to be grateful for today, the plethora of ideas and instructional videos on the internet for starters. I mean seriously, how did we learn things before there was You Tube? The common interest I share with my mom to create. It gives us a meaningful and fun way to spend time together. And this fun shaving foam project, which is one of many art projects in a year long art therapy program that I’m participating in called Mandala Magic.

5 comments
The colors and patterns are beautiful.
Beautiful and fascinating! Congratulations on your blogging and creating!
The vibrant colors of the inks are amazing! And the project looks really fun-kind of a combo of art and cooking! Until it’s cleanup time. Wish I could have been there to join the fun.
These are so beautiful! Love all the color play.
Wow Lauran what a collection of beautiful, vibrant dreamy mandalas. I smiled the whole time I read your post. Wonderful experience , & sharing it with your mom made it even more special. Your instructions are fabulous. Thanks for sharing this fun, messy, joyful project with us… Now I want to go get a lil messy too :). A special hello to your mom from me..